|
|
Using Microsoft Paint, make an image for the self-portrait
(the height and width of the image are at a ratio of 4 to 3), following the processes below.
 Upload your upper half-length image onto your computerOpen Microsoft PaintGo to [Start]->[All Programs]->[Accessories]->[Paint]Open the existing imageGo to [File]->[Open] With the command of ' Select' , select the necessary part out of the entire image*Select the width, keeping appropriate balanced spaces, as for the height, select provisionally down through the bottom.*In the selected frame, the width and the height of the image should be at a ratio of one to 1.5 and over Copy the selected image Go to [Edit]->[Copy]  Create a new blank image fileGo to [File]->[New]  Go to [Image]->[Attributes]Enter 1, in each box of Width and Height, click on OK button![Go to [Image]->[Attributes]](images/img05_en.gif) Paste the image copied in the last fileGo to [Edit]->[Paste]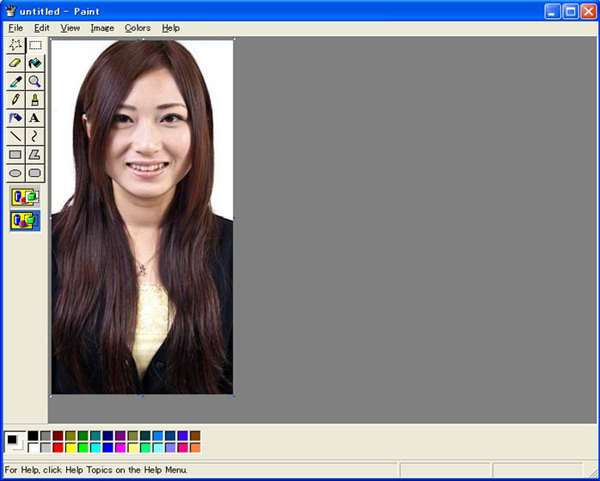 Check the figure in WidthGo to [Image]->[Attributes] To make the height and width of the image at a ratio of 4 to 3, enter the figure in Height, multiplying a figure in Width by 1.3 and click on OK buttonExample) the figure in Width is shown as 253 pixels, 253 x 1.3 = 329, enter 329 in Height. When you find a blank at the bottom in this process, sorry but we have to ask you to try again from the beginning. To solve this matter, select the image with the sufficient height length. (The height should be approximately one and a half times as long as the width.) 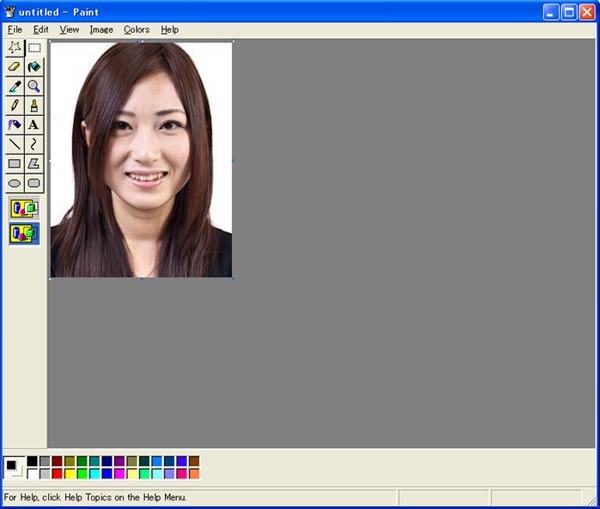 Save the image in the file of your choice, (file extension; jpg or png), and exit from Paint.Go to [File]->[Save As] |